Admin path
The portal route to a working license — no programming. You’ll reach the same result as the API quickstart: a published entitlement a customer can activate.
- Sign in to the Provision Portal — it lives at your account’s own web address, and your first login uses the password you set from the invite email (how sign-up works).
- Create a product — under Catalog → Products, give it a name, code and version. Products start in Draft; set the lifecycle status to Published when it’s ready for customers.
- Add features — on the product’s Feature catalog tab, choose New feature
for each capability you license (each gets a dotted code, e.g.
api-calls.total). Add to this version is on by default, so the feature is defined and offered in one step. Each entry starts in Draft; publish it before publishing the product. - (Optional) Add a plan — on the Usage Plans tab, define tiers such as
Basic/Prowith their limits. - Create an entitlement — under Sales → Entitlements, pick the customer and attach the product and a plan.
- Publish it — set the entitlement to Published so it can be activated.
- Issue an activation code — on the entitlement’s Activation Codes tab, generate a code and send it to the customer.
- Watch it work — activations, sessions and usage show up on the Dashboard and the entitlement’s Usage Monitoring tab.
Your catalog and the codes customers redeem:
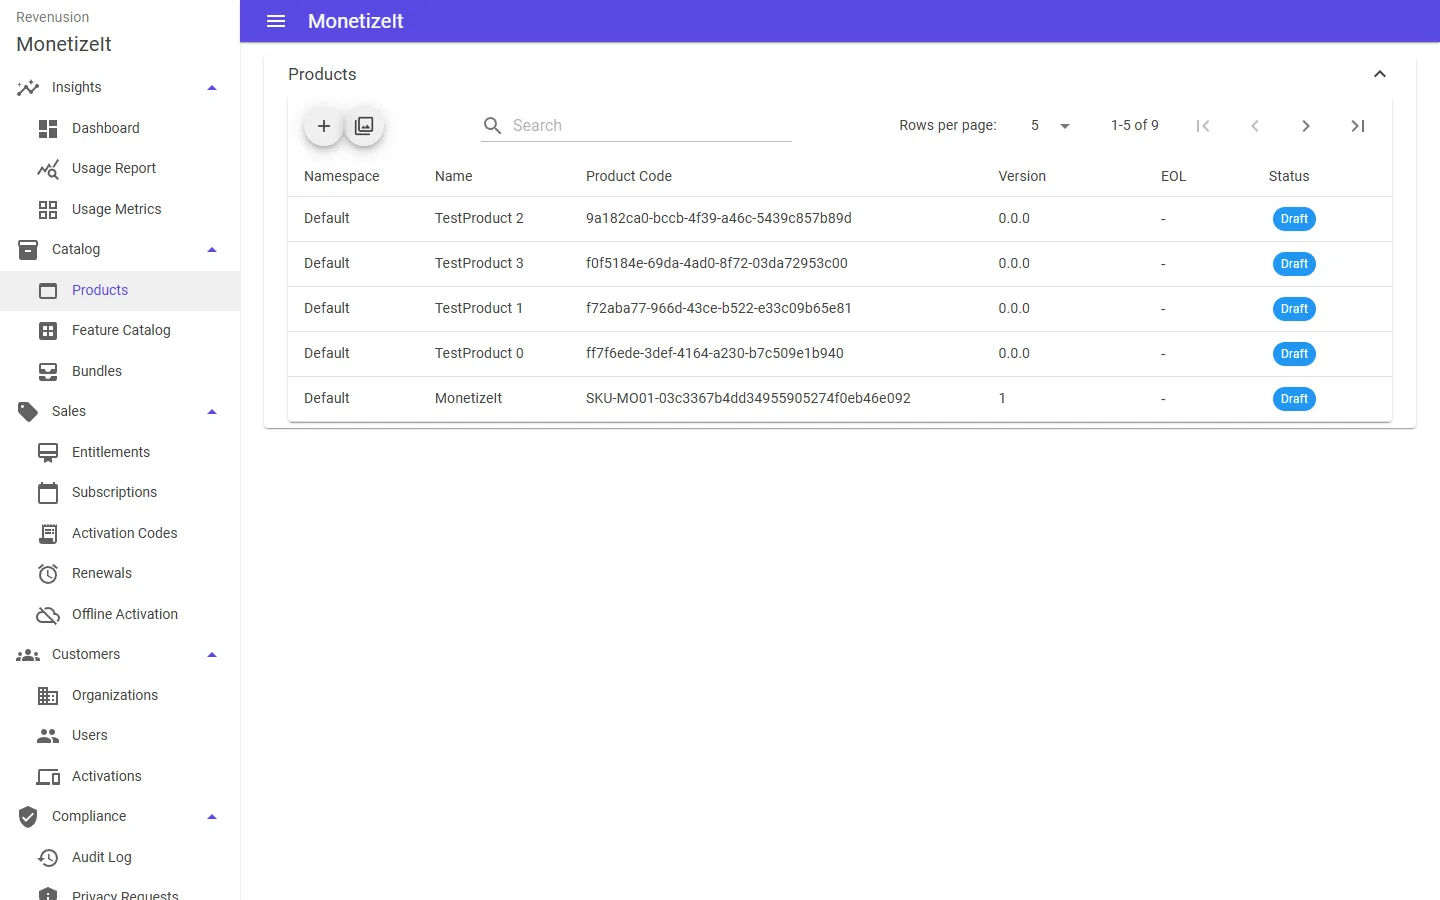
Products — each carries a code, version and lifecycle status.
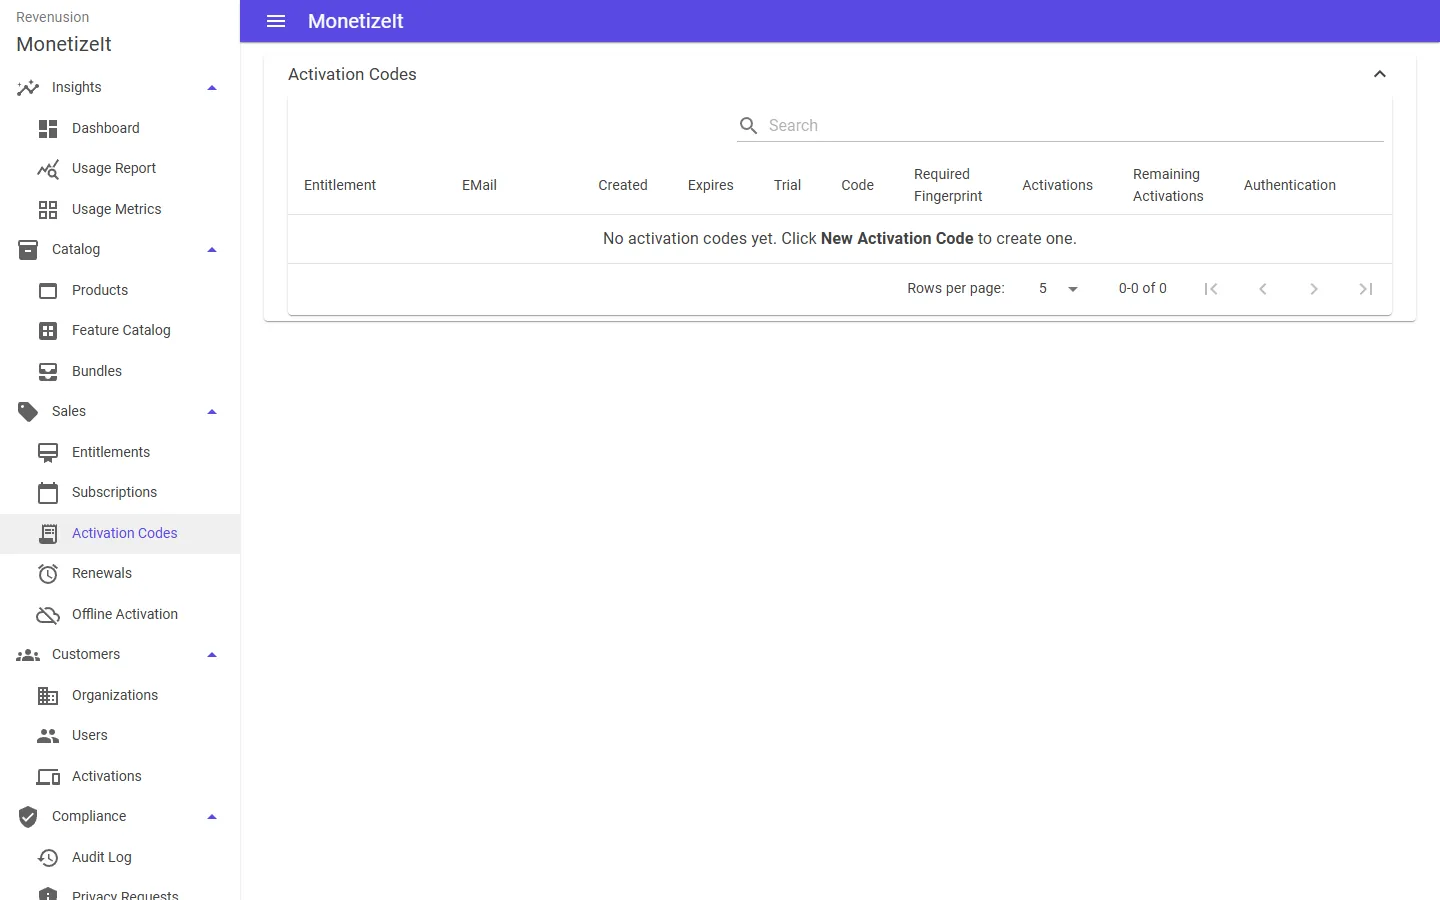
Activation Codes — generate one on an entitlement and send it to the customer to redeem.
That’s the whole loop. Task-by-task guides live under Using the Portal.