Get started
You can model a product, publish an entitlement and issue an activation code entirely in the portal — no programming. Enforcing the license you issue happens in your application, so the last step is wiring in the SDK or the REST API. Pick the path that fits you; the paths share the same model, so doing one makes the others obvious.
Start in the portal
Section titled “Start in the portal”- Sign up with your email and a company name, then click the link in the verification email. That creates your account — your own tenant of Oclavex, at its own web address.
- Set your password from the invite email that follows, and sign in. Your account’s web address is your Provision Portal.
- Create your first product and add a feature.
- Create and publish an entitlement so it can be activated.
- Issue an activation code and activate your app or device with it.
- Watch it work — activations and usage appear on the dashboard.
You’re watching Oclavex work before you issue anything: your own account runs on an Oclavex entitlement, so the trial and the plan limits you see in the portal are Oclavex enforcing a license on its own account.
The Admin path walks these steps screen by screen.
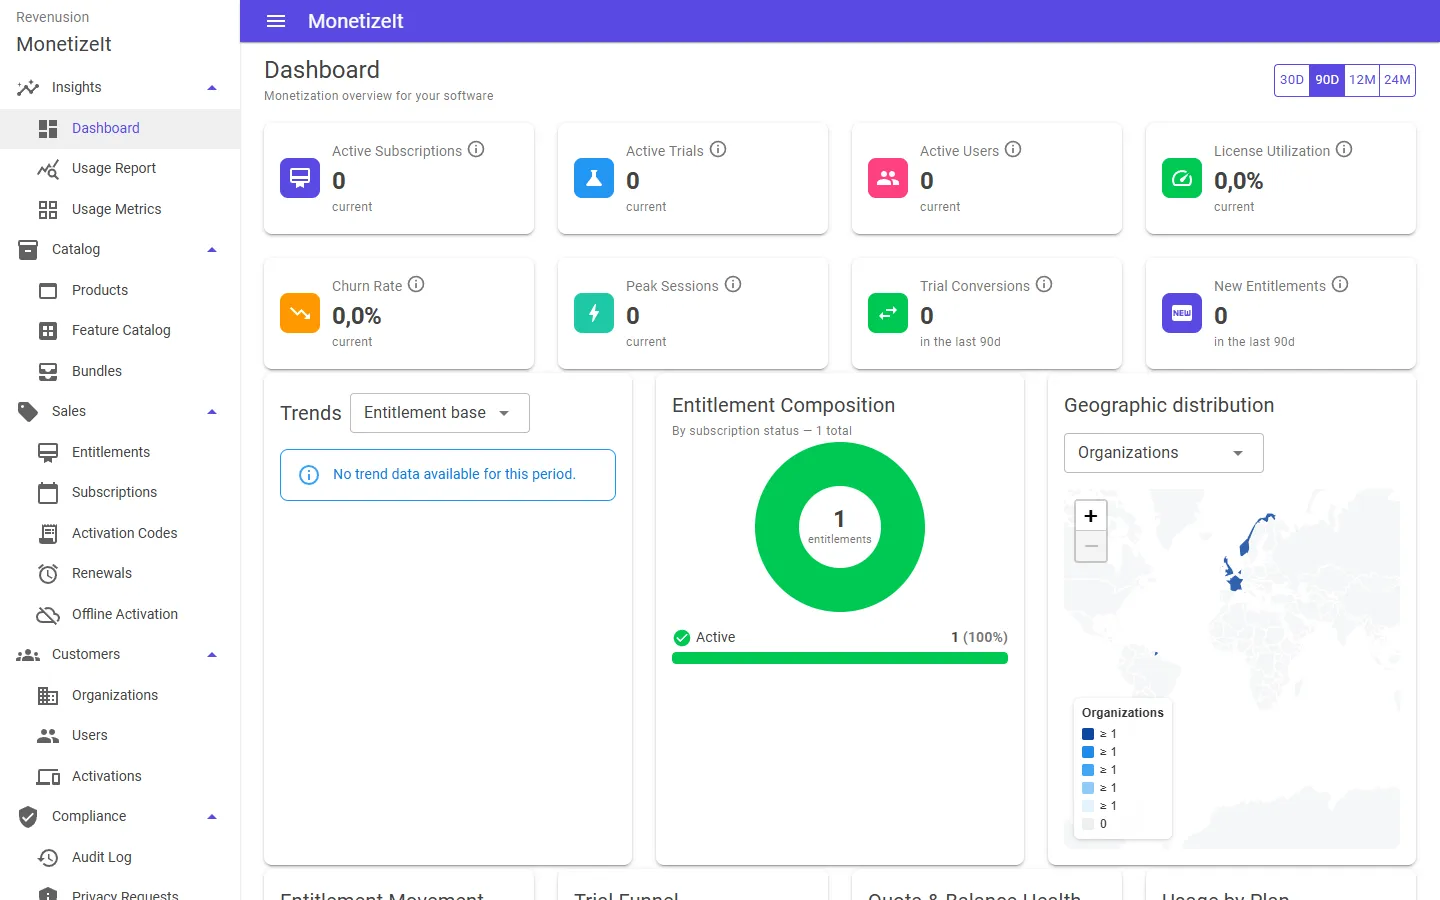
The Provision Portal dashboard — active subscriptions, trials, license utilization, the entitlement mix and where your customers are, at a glance.
Then integrate from your app
Section titled “Then integrate from your app”When you’re ready to enforce licenses and report usage from your own software:
- Developer path — drop a client SDK into your app and gate a feature on an entitlement.
- API quickstart — the same loop against the REST API, for any language.
The use cases for a SaaS product, a desktop application, on-premises & air-gapped software or connected devices each map the pieces and end at the right first step.
Deeper guides live under Using the Portal and Develop.